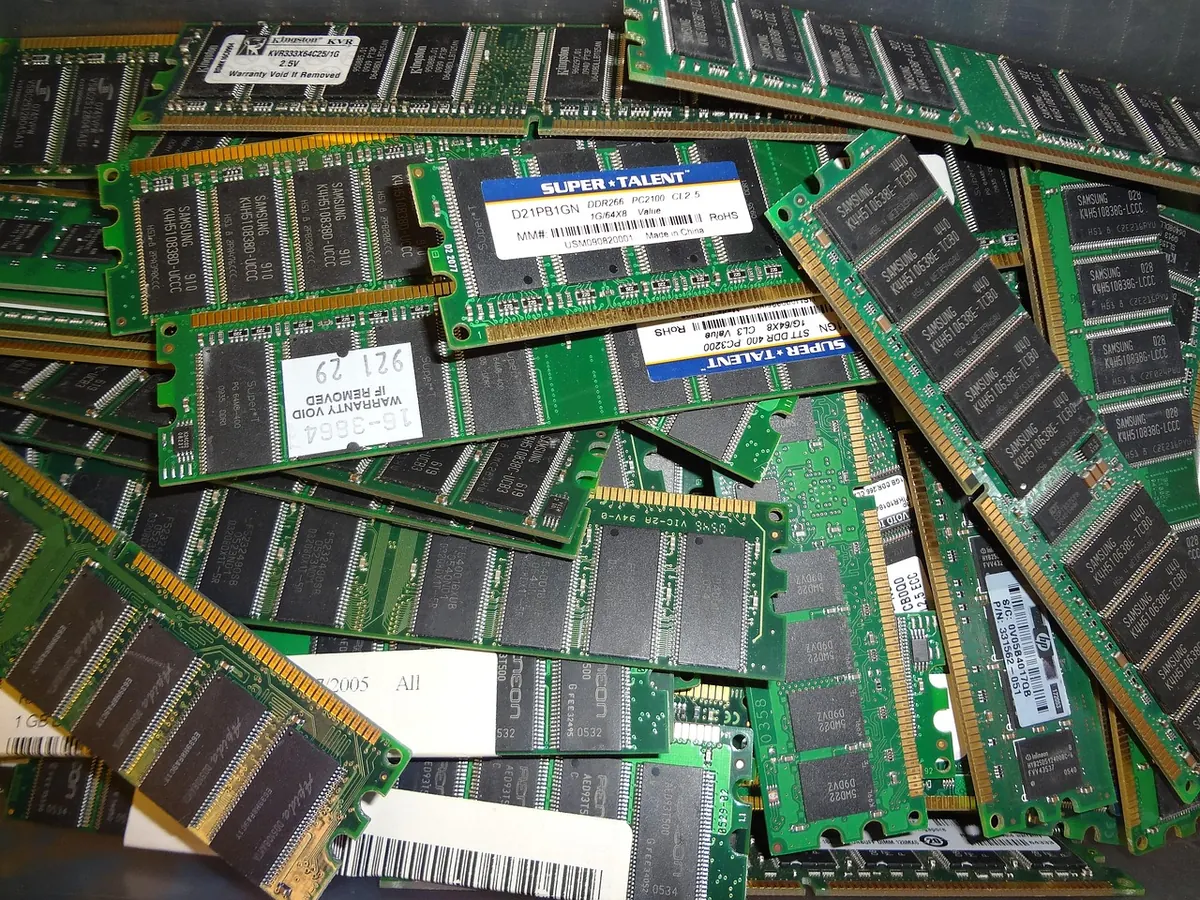
Few upgrades give a desktop a second life like more memory and a solid-state drive. Both jobs take an afternoon, a screwdriver and a little patience — not a technician's bench. What stops most people is the fear of wiping the drive that holds years of photos, saved games, tax records and a Windows install they really don't want to rebuild. The trick is order of operations: install the new drive alongside the old one, copy everything across, prove it boots, and only then decide what to do with the original.
Guessing here costs money and return postage. Start with the numbers your machine already knows. In Windows, press Ctrl+Shift+Esc, open the Performance tab and click Memory. You'll see total capacity, speed in MHz, how many slots are in use, and the form factor. A desktop uses full-length DIMMs; the shorter SO-DIMMs belong in laptops. DDR4 and DDR5 are keyed differently and are not interchangeable, so match the generation your board was built for.
Memory capacity limits live in the motherboard manual, not in marketing copy. If you have two free slots out of four, adding a matched pair is usually cleaner than dropping a single stick next to three odd ones. Mixing brands often works, but matching speed, timings and voltage removes a variable you don't need while troubleshooting.
For storage, the question is which connector you actually have:
One frequent surprise: on some boards, populating an M.2 slot disables one or two SATA ports. The manual lists which. Read that table before you buy, or you may find a hard drive disappearing after the upgrade.
Cloning copies a drive; it is not a backup. If the copy goes wrong halfway, you want another route to your files. Before opening the case, drag your irreplaceable folders — documents, photos, browser bookmarks, game saves, licence keys — onto an external drive or into cloud storage you already pay for. If the current drive is clicking, throwing errors or intermittently vanishing from File Explorer, stop and address that first; repeated clone attempts on a failing drive can finish it off.
Shut down fully rather than sleeping, then unplug the power cable. Hold the power button for five seconds to drain the capacitors. Work on a hard floor, not carpet, and touch the bare metal of the case before handling components. Static is real and quiet.
Lay the case on its side with the side panel off. Keep screws in a small dish — a stray screw rolling under the board is an hour you won't get back. Photograph the cable routing on your phone before unplugging anything. Leave the old drive connected for now; it has to be in place for the copy step.
On first boot after a memory change, the board may sit for thirty seconds or more with a blank screen while it trains the new modules. Give it a minute before you assume something is broken. If it still won't post, reseat the sticks, try one at a time, and clear the CMOS to reset the settings.
With the new SSD attached — inside a free M.2 slot, or in a USB enclosure for SATA and NVMe alike — boot into Windows as normal. Then use a cloning utility: many SSD manufacturers publish a migration tool on their support page, and free options such as Clonezilla exist for the rest.
Clone the entire disk, including the small system and recovery partitions, not just the C: volume. Double-check source and destination before you start; the direction is easy to flip when two drives look nearly identical in a dropdown. When the copy finishes, open Disk Management and extend the main partition into the unallocated space, or you'll be left staring at the extra capacity you paid for without being able to use it.
Shut down, unplug the power and disconnect the old drive entirely for the first boot. That forces the firmware to look at the new one instead of getting confused about which disk to hand off to. Power on, and confirm four things: Windows reaches the desktop, your user profile and files are intact, Disk Management shows the full capacity of the new drive, and Optimize Drives lists it as a solid-state drive so TRIM runs on schedule. Launch a few heavy applications, check your email client and browser profile, and restart once more to prove the boot is repeatable.
Keep the old drive untouched for a week or two. If anything turns out to be missing, you can reconnect it and copy across the gap. Once you're satisfied, wipe it with a full format and repurpose it as an external backup, or keep it on a shelf as a cold spare. Reinstall the case panel, run a memory test overnight if you added a lot of RAM, and watch temperatures for the first few days. Then, when the machine boots in ten seconds instead of two minutes, you'll know the afternoon was well spent.
Photo: 502designs / Pixabay
Unassigned seats, duplicate subscriptions and forgotten renewal dates drain small IT budgets quietly. Here are ten...

Free antivirus covers basic malware blocking, but paid tiers add phishing defence, VPNs, parental controls, priority...

SSDs cut boot times and survive drops; hard drives still win on cost per terabyte. Here is how to match each drive...

Your trusted source for reliable IT solutions.
